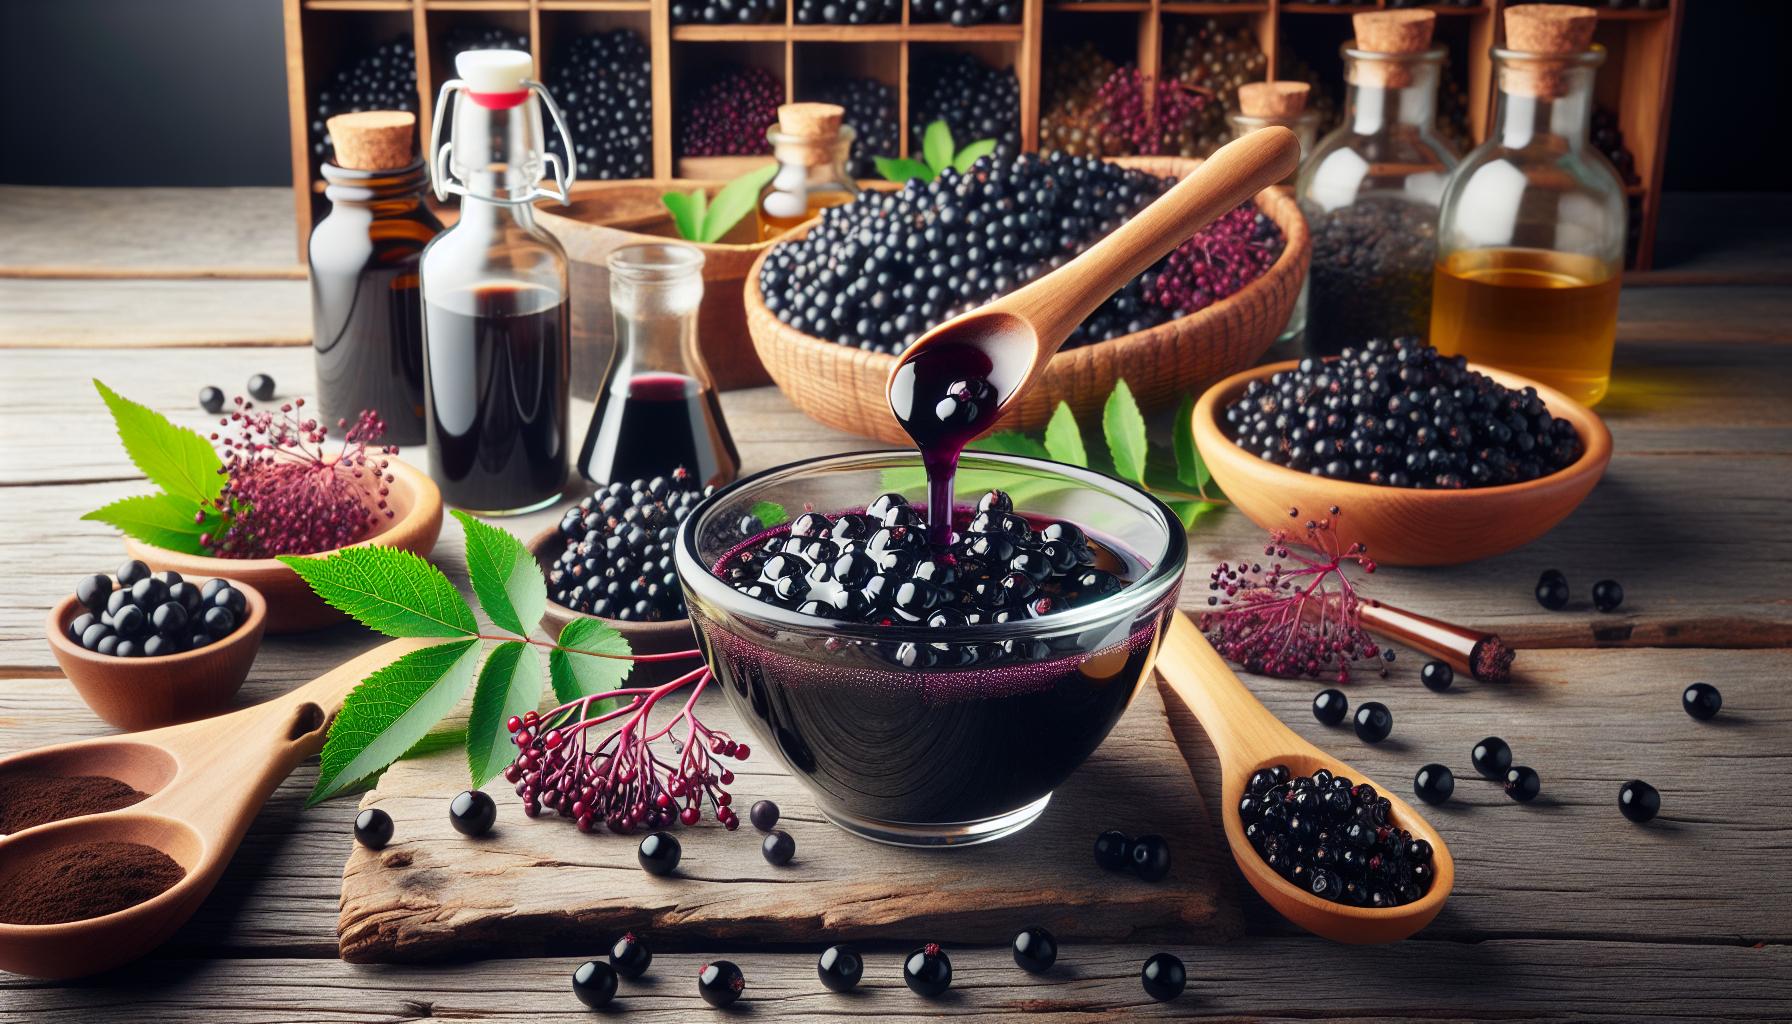
– What are the health benefits of elderberry syrup made with fresh berries?
Introduction: Making Magic with Fresh Elderberries
Are you wondering how to stir up your very own elderberry syrup using fresh berries? Well, you’ve knocked on the right door. Within the cozy confines of this content lies the secret to crafting nature’s nectar. Fresh elderberry syrup is a healthful delight that is not only easy to make but also makes an enticingly luscious addition to your daily nutrition.
In this article, we will walk you through every step of creating your delicious immune-boosting syrup. We’ll let you in on the ingredients needed, guide you through the process, and share some tips and tricks to ensure your syrup is as tasty as it is nutritious. Quiet the stir in your mind; let’s bring those bubbling elderberry dreams to life.
Ingredients: Gathering the Gems
As it turns out, making fresh elderberry syrup does not need a bewitching list of hard-to-acquire components; a few simple, yet magical ingredients will suffice. Collect your crop of fresh elderberries, ensuring they’re plump and juicy. Fetch some raw, local honey, a few sticks of cinnamon, a small piece of fresh ginger root, and – if you’re a fan of zesty flavor – some fresh lemon.
Berry Choice and Preparation
When it comes to choosing your elderberries, the blacker, the better! Avoid the red or green, for they’re still immature, and remember to refrain from using dried elderberries – fresh is best for our potion today.
The Process: Stirring up the Magic
Once you’ve gathered your ingredients, it’s time to set the kitchen stage for a magical performance. Start by thoroughly washing your fresh elderberries under running water; cleanliness is next to godliness, after all.
Brewing Stage
Pour your berry harvest into a pot, add some water, and bring to a boil. Once boiling, turn down the heat and let the mixture gently simmer. As for the fragrant accessories—your ginger, cinnamon, and lemon—toss them into the mix and allow mother nature to work her symphony of flavors.
Perfecting the Potion
After brewing, your colorful concoction needs to be strained, freeing it from the physical ties of the used-up ingredients. Then, when the liquid has cooled, sweeten it with your honey. Like a cherry on top, this final step transforms the brew into a succulent syrup.
Dosage and Storage
Depending on your taste, a tablespoon or two daily should suffice. As for storage, your little jar of joy will stay fresh in the fridge for about two to three months.
Conclusion: Enjoying the Elderberry Elixir
And just like that, you’ve brewed your very own elderberry syrup – a blend not just of wholesome ingredients, but also of love and nurture. Armed with this knowledge, you’re ready to dive right into the world of homemade health elixirs.
Frequently Asked Questions
1. Can I use dried elderberries to make the syrup?
Though you can, fresh elderberries offer a richer flavor and higher nutritional value.
2. Can I skip the honey?
Yes, but honey adds a celebrated sweetness and immunity-boosting properties to your syrup. If you’re allergic to honey, consider using Agave nectar or a similar substitute.
3. Can elderberry syrup be frozen?
You bet! This is an especially nifty tactic if you’re looking to extend the shelf-life of your syrup.
4. Is it safe for children?
Generally, it is. However, honey shouldn’t be given to children under 1 year due to the risk of botulism. Always consult your pediatrician.
5. Can you eat the elderberries raw?
No, raw elderberries can be toxic and may cause nausea, vomiting, or severe diarrhea. Always cook them first.


