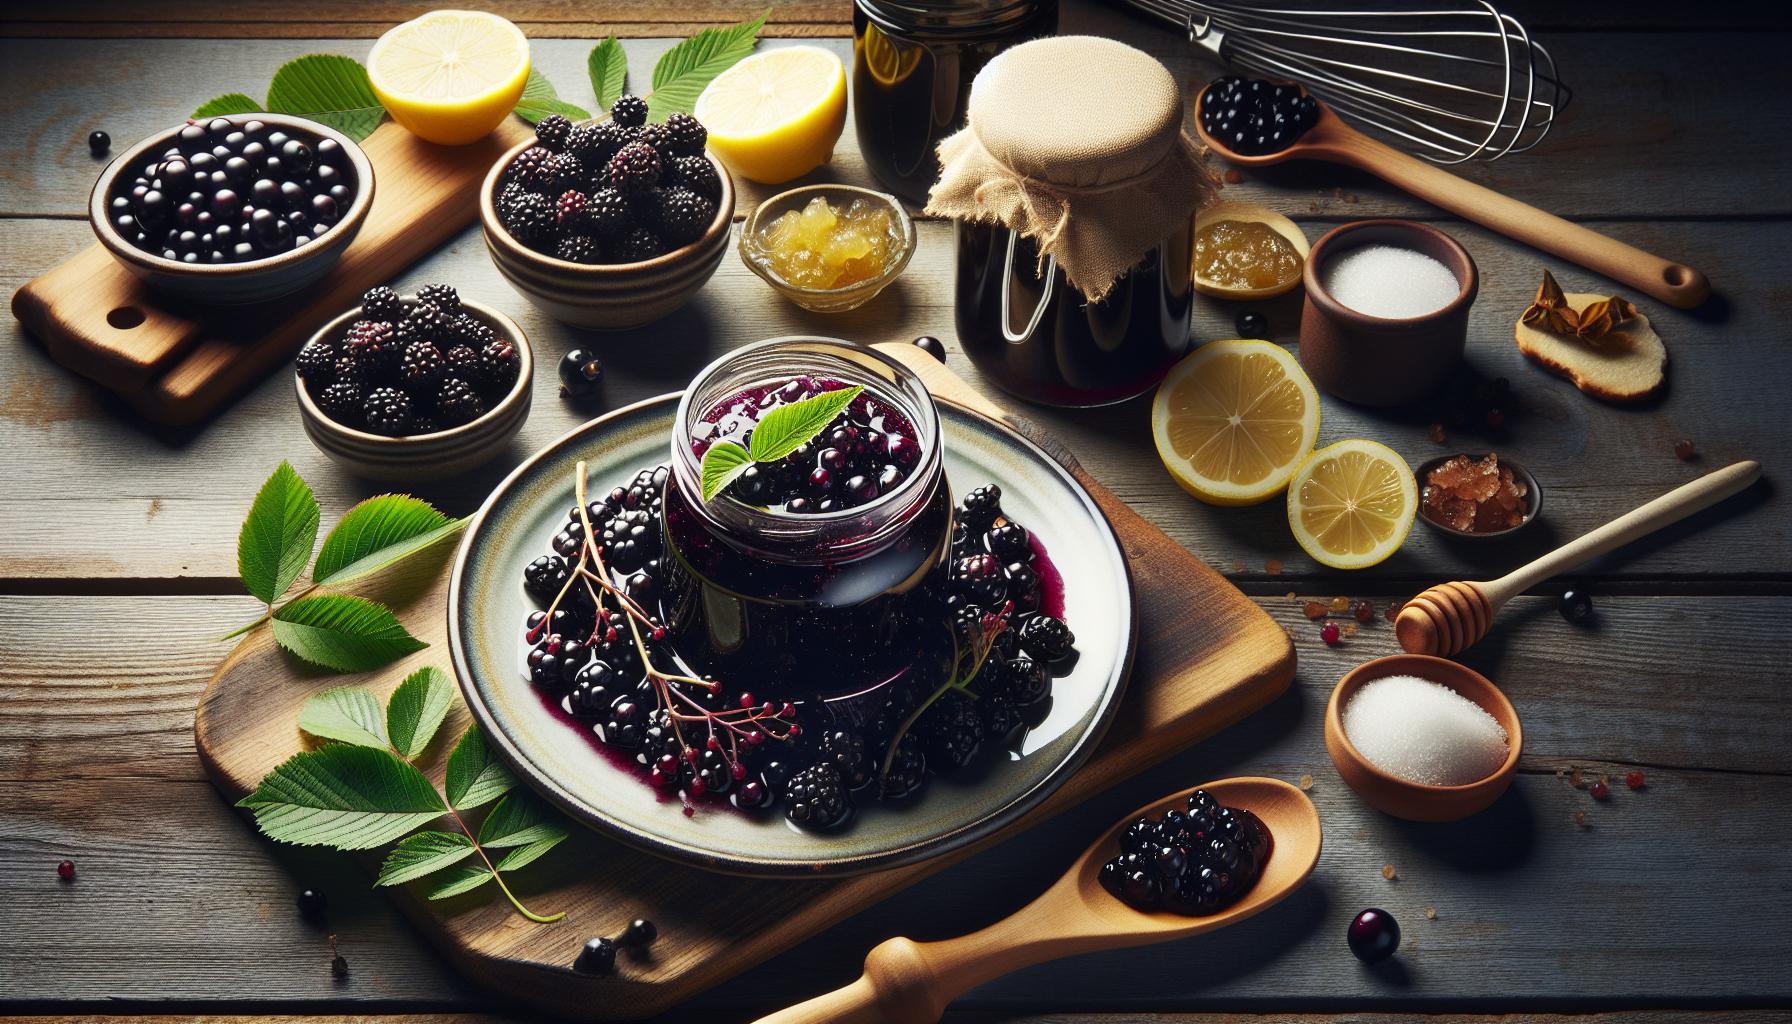
Are you looking to try something different and delicious in the kitchen? How about a sweet and tangy twist to your traditional jam? Elderberry jam is a delightful addition to your culinary palette! Not only does this purple-hued jam bring a vibrant color to your plate, but its rich, slightly tart flavor perfectly complements toasts, pastries, and even meats!
Ingredients List
Here goes the list of ingredients you would need for our elderberry jam recipe:
– 3 cups of fresh elderberries (You can use frozen berries when fresh ones aren’t in season)
– 2 cups of sugar
– 1 tablespoon of lemon juice
– A pinch of salt
Instructions
Follow these step-by-step instructions to make your homemade elderberry jam.
1. Start by rinsing your elderberries under cool water. Make sure you remove any stems or leaves.
2. In a medium-sized saucepan, combine elderberries, sugar, lemon juice, and salt. Simmer it over medium heat. Stir frequently to help dissolve the sugar.
3. Once the mixture comes to a boil, reduce the heat to low. Let it simmer for about 20 to 25 minutes. Remember to stir occasionally to prevent the jam from sticking to the bottom of the pan.
4. After the mixture has thickened, remove it from heat and let it cool. Transfer the cooled jam to a jar and refrigerate.
Cooking Time & Servings
This elderberry jam recipe takes approximately 30 minutes to prepare and cook. You can expect to yield about 1-2 jars of jam from this recipe.
Nutritional Information
Elderberry jam is packed with vitamins and antioxidants which makes it not just a treat to your taste buds but also beneficial for your health. Here’s a breakdown of the nutritional content per tablespoon of elderberry jam:
– Calories: 50
– Carbohydrates: 13g
– Fat: 0g
– Protein: 0g
Tips and Tricks
– For a smoother texture, you can puree the elderberries before cooking.
– If your jam isn’t setting, cook it a bit longer on low heat.
– To test if your jam is ready, place a small amount on a cold plate. If it gels up, it’s done.
– Substitute sugar with honey or maple syrup for a healthier version.
As we bring this culinary journey to a close, remember that…
The charm of this elderberry jam recipe lies in its simplicity, the fusion of sweet and tart flavors, and the health benefits it offers. So, don your apron, and let’s paint your kitchen purple!
Frequently Asked Questions
Q: Can I use dried elderberries for this recipe?
A: Yes, you can, but make sure to rehydrate them in water before cooking.
Q: How long does homemade elderberry jam last?
A: If stored properly, it should last for about a month in the fridge.
Q: Can I can this jam to store it longer?
A: Indeed, you can! Remember to follow sterilization procedures for canning to prevent any spoilage.
Q: Can I add any extra flavorings to this jam?
A: Absolutely. Feel free to add vanilla extract, cinnamon, or a splash of your favorite liqueur.
Q: Is this elderberry jam good for individuals with diet restrictions?
A: Luckily, this jam is gluten-free and vegan-friendly. Remember to choose your sweetener wisely if you’re watching your sugar intake.
Remember, the kitchen is your canvas! Feel free to get creative with this recipe, and don’t forget to share your thoughts, experiences, and suggestions in the comments below. Enjoy making and savoring your homemade elderberry jam. Cheers!


